How to Install Windows on a Lenovo Computer
Installing Windows on a Lenovo computer can significantly upgrade your computing experience, offering enhanced performance, security, and access to new features. Whether you’re setting up a new Lenovo PC or updating an existing one, understanding the installation process is crucial. This introduction will guide you through the key steps involved, from preparation to activation, ensuring a successful installation. With support from Lenovo and the right tools at your disposal, you’ll discover how straightforward it can be to install or upgrade Windows on your Lenovo device, unlocking its full potential and tailoring the system to your needs.

How to install Windows Software on a Lenovo Computer
Installing Windows on a Lenovo computer is a straightforward process that can breathe new life into your device. Whether you’re upgrading to the latest version of Windows or reinstalling to improve performance, this step-by-step guide, with assistance from Lenovo Support, will ensure a smooth installation. Here’s how to do it:

Step 1: Preparation
- Backup Your Data: Before proceeding, back up any important files to an external hard drive or cloud storage to prevent data loss.
- Check System Requirements: Verify that your Lenovo computer meets the minimum system requirements for the Windows version you intend to install.
- Obtain Windows Installation Media: You can download the Windows installation media directly from Microsoft’s website. Create a bootable USB drive or obtain an installation DVD.
- Consult Lenovo Support: Visit the Lenovo Support website for any specific instructions or firmware updates for your model before installation.
Step 2: Boot From Installation Media

Insert the USB drive or DVD into your Lenovo computer.

Restart the Computer: As your computer restarts, enter the BIOS setup by pressing the key shown on the screen (often F1, F2, F12, or Del).
Change Boot Order: In the BIOS, navigate to the boot menu and set the USB drive or DVD as the first boot device. Save changes and exit the BIOS.
Contact Lenovo Support if you encounter issues accessing the BIOS or changing the boot order.
Step 3: Install Windows

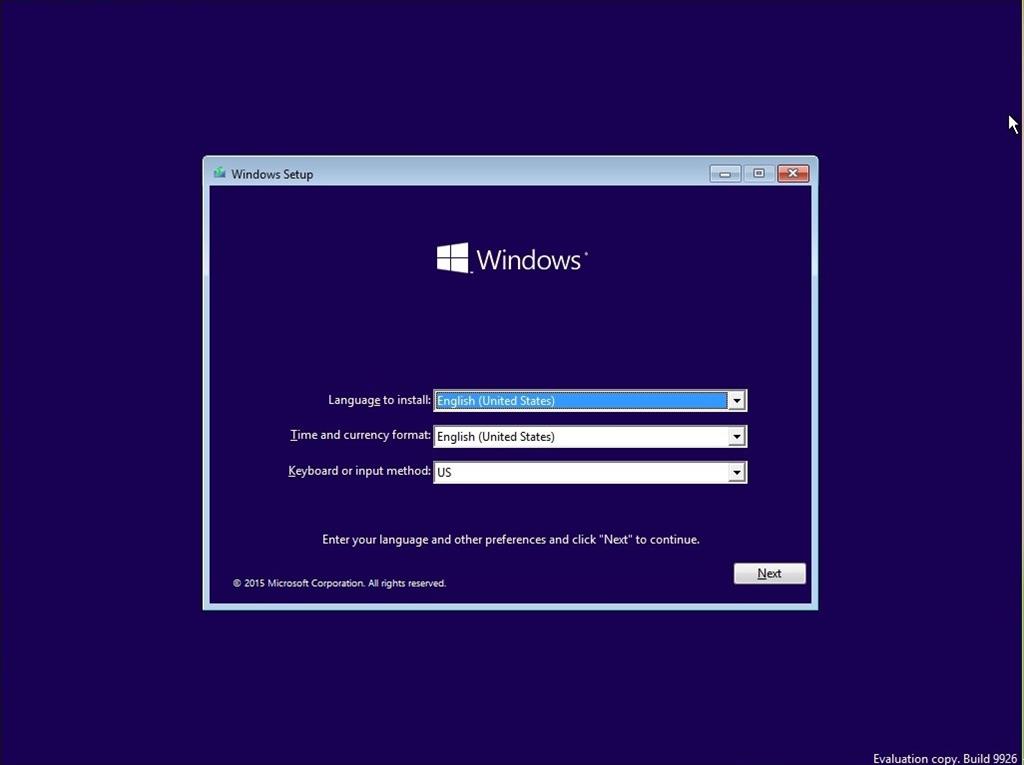
Start the Installation: Your computer should now boot from the installation media. Follow the on-screen instructions to begin the Windows installation process.
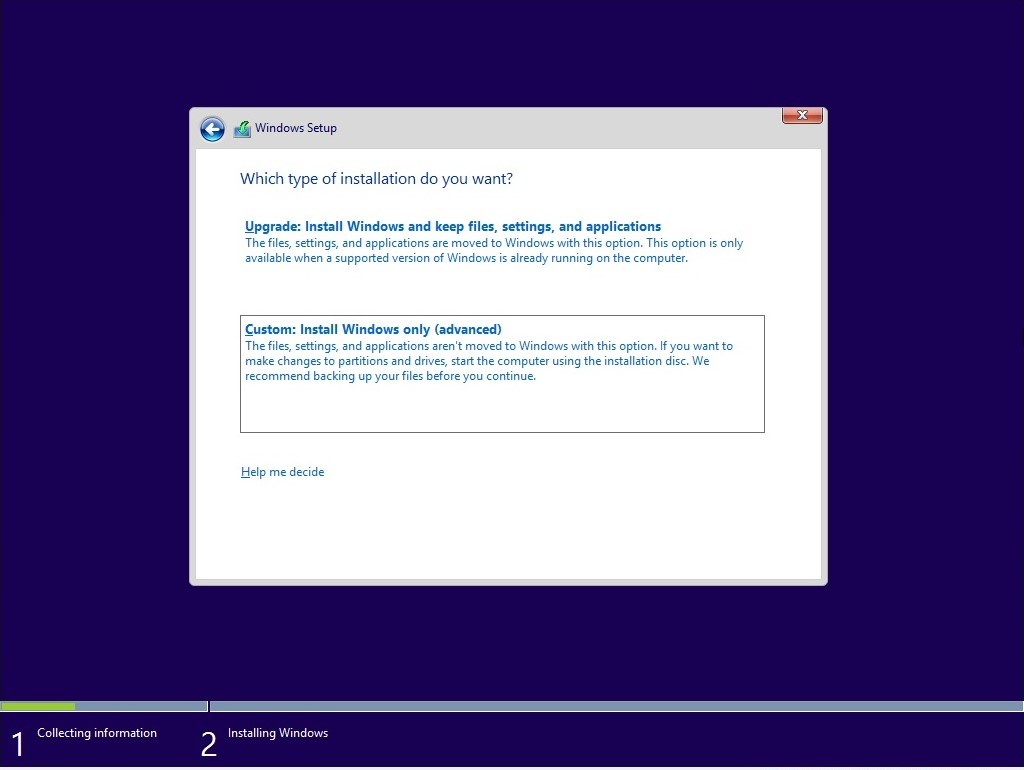
Choose Installation Type: Select “Custom: Install Windows only (advanced)” for a clean install.
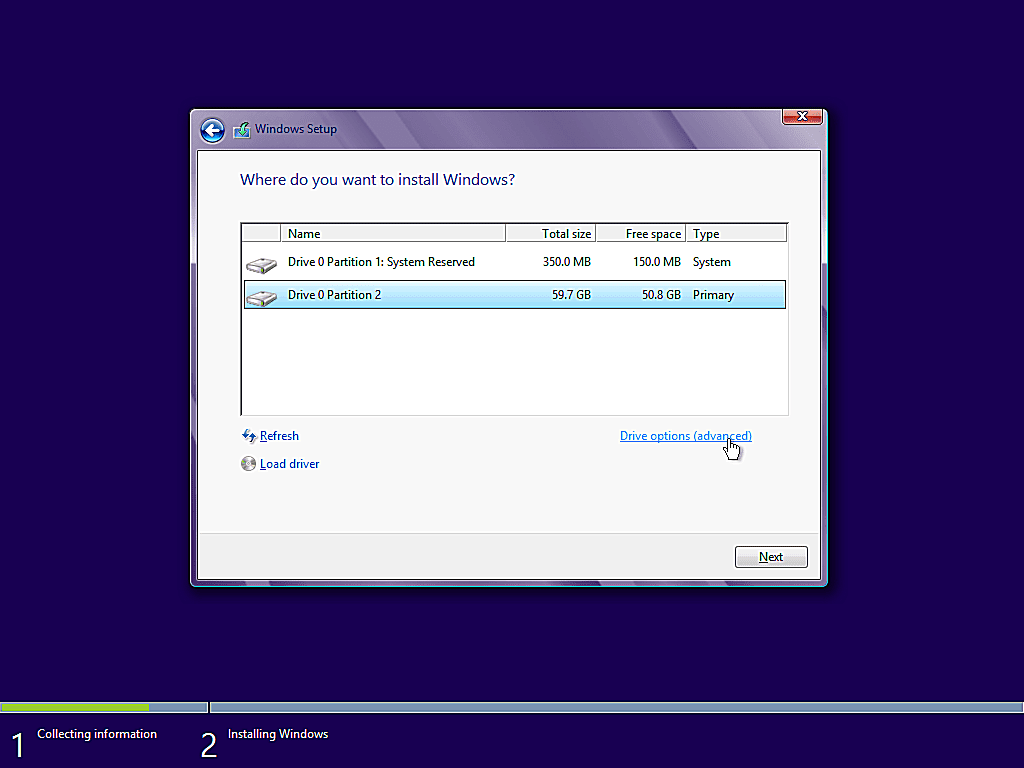
Partition Your Hard Drive: Select the drive where you want to install Windows. You can delete existing partitions and create new ones if necessary.
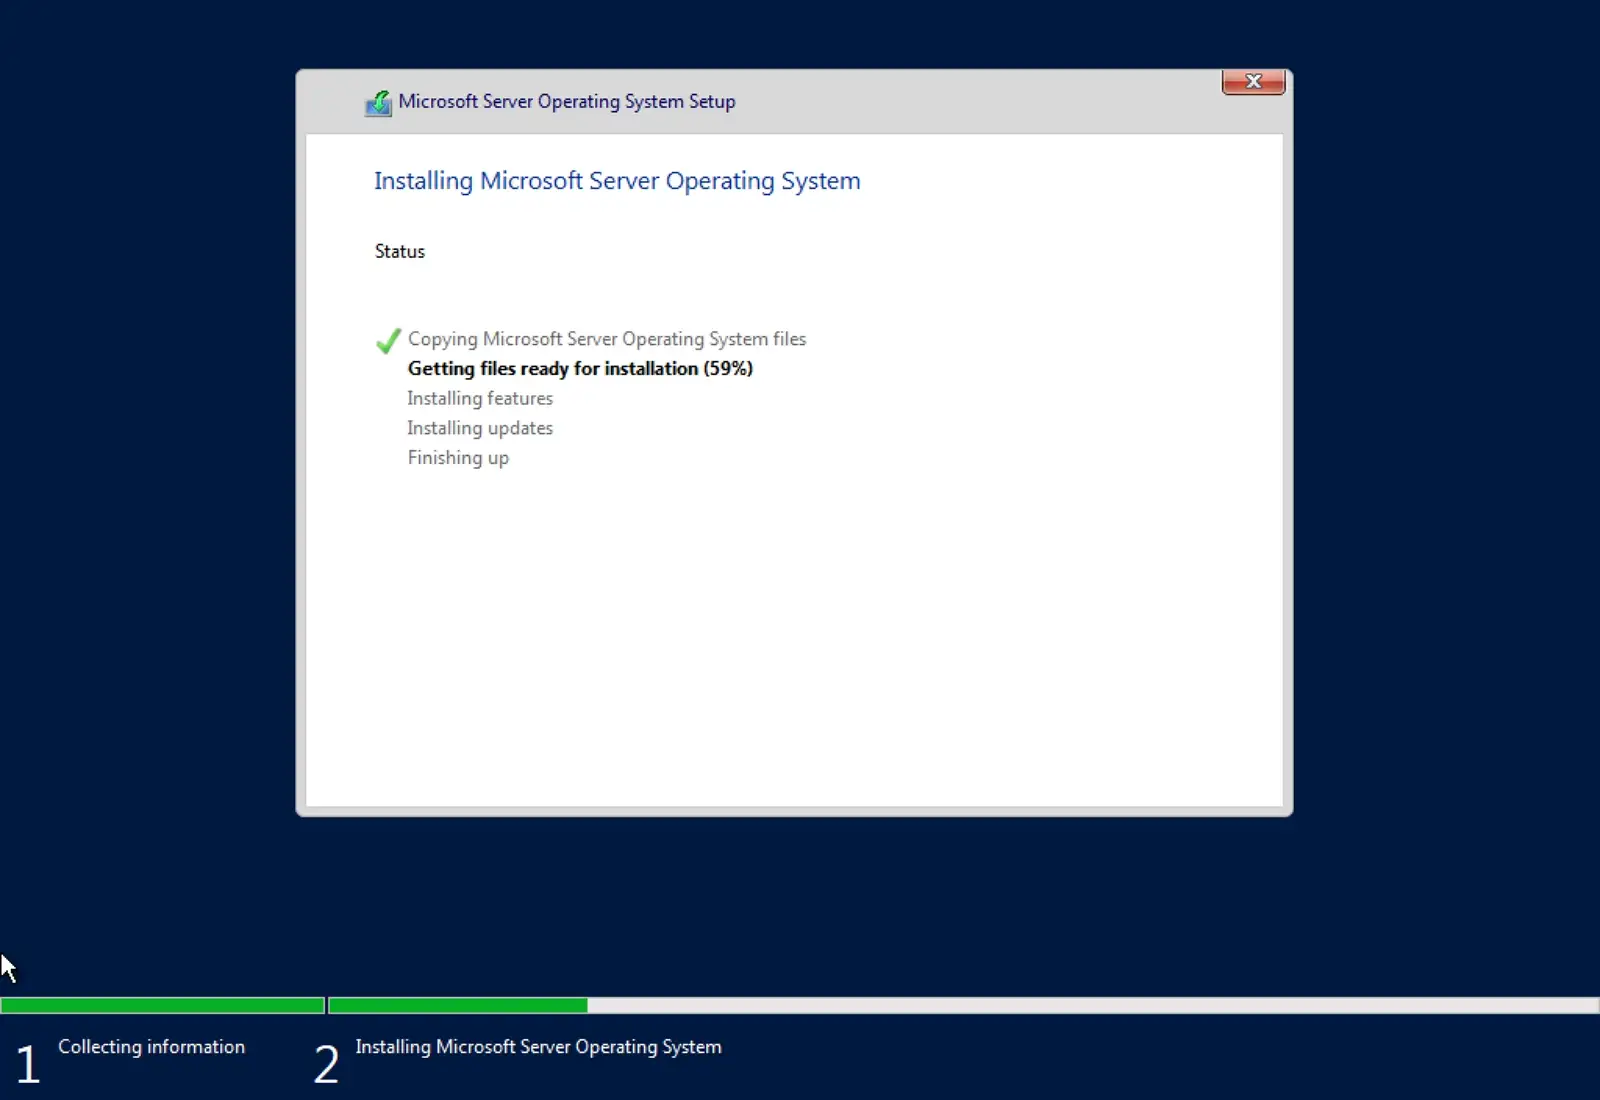
Proceed with Installation: Once you’ve chosen where to install Windows, follow the prompts to complete the installation. Your computer may restart several times during this process.
Step 4: Finalize Installation

- Remove Installation Media: Once the installation is complete, remove the USB or DVD before your computer restarts to prevent booting from it again.
- Set Up Windows: Follow the on-screen instructions to complete the Windows setup, including setting up a user account, password, and network connection.
- Install Drivers and Updates: Use the Lenovo Support website to download and install any missing drivers. Additionally, run Windows Update to download the latest updates for your new installation.
Step 5: Install Lenovo Software

Visit Lenovo Support:
Download Lenovo-specific software and utilities to enhance your computer’s performance and user experience.
By following these steps and utilizing Lenovo Support for any guidance or troubleshooting, you can ensure a successful Windows installation on your Lenovo computer. This process not only updates your system but also optimizes your computing experience with the latest features and security enhancements.


