
Table of Contents
How to get more ram on pc
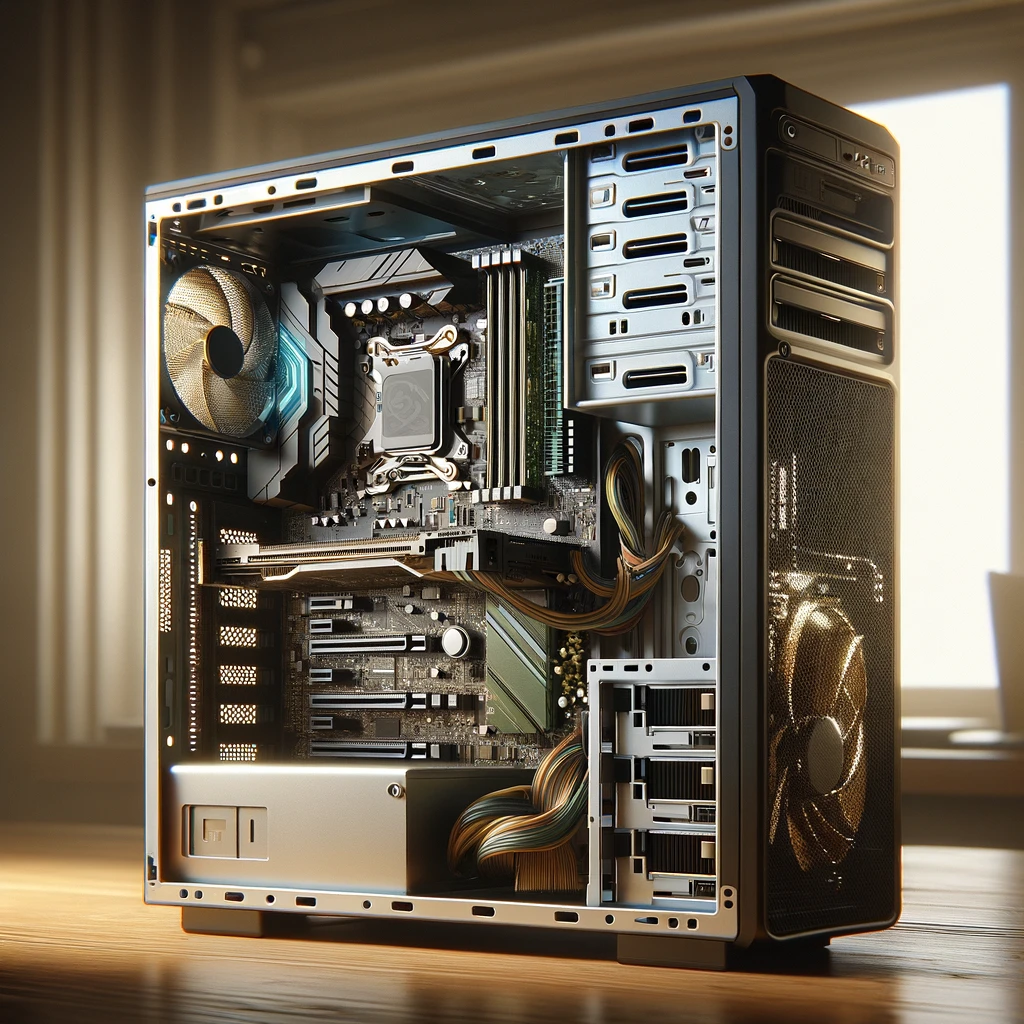
Upgrading the RAM (Random Access Memory) in your computer is one of the most straightforward yet impactful enhancements you can make to boost performance. RAM acts as the computer’s short-term memory, allowing your system to access data quickly and efficiently. Whether you’re a gamer seeking smoother gameplay, a professional requiring faster data processing, or simply looking to improve your computer’s overall responsiveness, increasing your RAM can provide a noticeable improvement. This introduction will guide you through the essential steps and considerations for selecting and installing new RAM modules, ensuring compatibility, and optimizing your system’s performance. With the right tools and a bit of knowledge, changing the RAM in your computer can be a rewarding DIY project that enhances your computing experience without the need for professional computer repair shops.

Steps for changing or upgrading the ram on your PC
Changing the RAM in a PC is a relatively simple process that can significantly enhance your computer’s performance. Here’s a step-by-step guide to help you through the process:
1. Check Compatibility
- Motherboard Compatibility: Ensure the new RAM is compatible with your motherboard. Check the motherboard’s documentation or manufacturer’s website for supported RAM types (DDR4, DDR3, etc.), speeds, and maximum capacity.
- Existing RAM: If you’re not replacing all your existing RAM, ensure the new modules are compatible with the old ones in terms of type, speed, and size for optimal performance.
2. Purchase the RAM
- Buy RAM that fits your needs in terms of capacity, speed, and compatibility with your PC.
3. Prepare Your Workspace
- Power down your PC and unplug all cables.
- Work on a clean, static-free surface. Consider using an anti-static wristband or periodically grounding yourself by touching a grounded metal object to prevent electrostatic discharge (ESD) damage.
4. Access the Motherboard
- Open your PC case. For most towers, this involves removing screws on the back of the case and sliding or swinging open one of the side panels.
- Locate the RAM slots on the motherboard. These are typically near the CPU and are long, thin slots with clips on either end.
5. Remove Existing RAM (if applicable)
- Gently release the clips at the ends of the RAM slot. The existing RAM module should pop up slightly.
- Carefully pull the RAM module out of the slot, holding it by the edges.
6. Install New RAM
- Align the notch on the RAM module with the notch in the slot. Note that RAM can only be inserted one way.
- Firmly press the RAM into the slot until the clips snap securely into place, indicating the RAM is properly seated. You might have to apply more pressure than expected, but be careful not to force it.
7. Close Everything Up
- Once the new RAM is securely in place, close up your PC case.
- Reconnect all cables and power up your PC.
8. Check the New RAM
- After powering up, verify that the PC recognizes the new RAM.
- Access your PC’s BIOS/UEFI settings on boot-up (usually by pressing a key like F2, Del, or Esc) to check if the new RAM is detected, or use the operating system’s system information to verify the total available memory.
- You might also want to run a memory test using software tools to ensure the RAM is functioning correctly without errors.
9. Troubleshooting
- If the PC doesn’t boot or doesn’t recognize the new RAM, double-check that the modules are correctly seated. You may also need to update your motherboard’s BIOS/UEFI firmware or adjust settings for compatibility.
By following these steps, you can successfully upgrade your PC’s RAM, enhancing your computer’s performance for more demanding applications or multitasking needs. You can always consult with a Professional if you need assistance

Steps for changing or upgrading the ram on your MAC
Changing the RAM in a Mac can vary significantly depending on the model, as some Macs have user-upgradeable RAM, while others have memory that is soldered to the motherboard and cannot be upgraded after purchase. For those Mac models that allow RAM upgrades, the process is generally user-friendly. Here’s a step-by-step guide tailored for Mac computers that support user-upgradeable RAM:
1. Determine Mac Model and RAM Compatibility
- Identify your Mac model and year to determine if the RAM is upgradeable. Use “About This Mac” from the Apple menu to get this information.
- Check the maximum amount of RAM supported and the type of RAM required (e.g., DDR3, DDR4) by visiting Apple’s official support website or consulting your Mac’s user manual.
2. Purchase Compatible RAM
- Buy the correct type and size of RAM for your specific Mac model. Ensure it matches the specifications recommended by Apple.
3. Power Down and Prepare
- Shut down your Mac and unplug all cables.
- Place your Mac on a soft, lint-free cloth on a stable surface to avoid scratching the case.
- Discharge static electricity from your body before touching any internal parts by touching a metal grounded object.
4. Access the RAM Slot
- The process to access the RAM slots varies:
- MacBook Pro: Most pre-2012 models have a bottom case that can be removed with a screwdriver to access the RAM.
- iMac: For 27-inch models (2012 and later), the RAM compartment is usually behind a small door on the back of the iMac. For 21.5-inch models, upgrading RAM can be more challenging and might not be user-serviceable.
- Mac mini: The bottom cover twists off for some models, revealing the internal components, including the RAM slots.
- Refer to the Apple support website or your user manual for model-specific instructions.
5. Remove Existing RAM (If Applicable)
- Carefully release the levers or tabs holding the RAM modules in place.
- Gently remove the current RAM modules by pulling them out of their slots.
6. Install New RAM
- Align the new RAM modules with the slot, making sure the notch on the RAM matches the ridge in the slot.
- Press the RAM into the slot firmly until it clicks into place. For some models, you may need to push the levers or tabs back into position to secure the RAM.
7. Reassemble and Test
- Replace any covers, panels, or screws you removed during the process.
- Reconnect the power and any other cables, then turn on your Mac.
- Verify the new RAM by going to “About This Mac” from the Apple menu. The total memory should reflect the new amount of RAM installed.
8. Troubleshooting
- If your Mac doesn’t recognize the new RAM or doesn’t start up correctly, ensure the RAM is fully seated in the slots and that no pins are damaged.
- Check for compatibility issues and ensure the RAM modules are correctly installed in the correct configuration.
Important Note
- Always refer to Apple’s official documentation for your specific model before attempting to upgrade the RAM, as the steps and feasibility can vary greatly between different Macs. For models where RAM is not user-upgradeable, professional service is required, and attempting an upgrade could void your warranty.

How identify the type of memory on your PC, or MAC
Identifying the type of memory (RAM) in your PC or Mac is crucial for upgrades or troubleshooting. Here are methods for both platforms:
For PC (Windows)
Using Task Manager (Windows 10 and later)
- Right-click on the Taskbar and select Task Manager.
- Go to the Performance tab and select Memory.
- Here, you’ll see details like the type of RAM (e.g., DDR4), its speed (measured in MHz), and how many slots are being used.
Using System Information
- Press Windows Key + R to open the Run dialog.
- Type msinfo32 and press Enter to open System Information.
- Under System Summary, you can find information about your system, but for detailed memory type, you might need to look under Components > Memory.
Using CPU-Z
- Download and install CPU-Z, a free utility.
- Open CPU-Z and go to the Memory tab.
- You’ll see detailed information about your RAM, including Type (e.g., DDR4), Size, and Timing.
For Mac
About This Mac
- Click on the Apple menu in the top-left corner of your screen.
- Select About This Mac.
- In the Overview tab, you’ll see a brief summary of your memory, including its size and type (e.g., 8 GB 1600 MHz DDR3).
- For more detailed information, including the number of memory slots and available upgrades, you can click on the Memory tab in the System Report.
System Report
- Follow the steps to open About This Mac.
- Click on System Report.
- In the System Report window, select Memory under the Hardware section.
- This section provides comprehensive details about the RAM, including type, speed, and status of each slot.
Additional Tips
- Check Your Motherboard’s or System’s Documentation: The manufacturer’s documentation often lists the specific types of memory supported by your system or motherboard.
- Manufacturer’s Website: For both PCs and Macs, the manufacturer’s website can be an excellent resource for finding out what type of memory is compatible with your system, especially if you’re planning an upgrade.
- Use Trusted Software: Tools like CPU-Z for Windows or Mac’s built-in System Report are reliable ways to get accurate information about your RAM.
Identifying the correct type of memory is essential before purchasing upgrades or when diagnosing performance issues. Always ensure compatibility to avoid damage to your system or reduced performance.
Why would you want to change the ram in your PC
Changing the RAM (Random Access Memory) in your PC or Mac can have several benefits, enhancing overall system performance and allowing your computer to handle more tasks simultaneously. Here are the primary reasons why you might want to upgrade or change the RAM in your computer:
1. Improved Performance
- Faster Data Access: RAM is much faster than other types of storage, such as HDDs or SSDs. Upgrading your RAM can reduce the time it takes to access or retrieve data, leading to quicker program launches and smoother multitasking.
- Better Multitasking: With more RAM, your system can handle more applications simultaneously without slowing down. This is particularly beneficial if you frequently have multiple tabs open in your browser, use resource-intensive applications, or run virtual machines.
2. Enhanced Gaming Experience
- Many modern games require a substantial amount of RAM to run smoothly, especially at higher settings or resolutions. Upgrading your RAM can lead to better frame rates, reduced loading times, and a more enjoyable gaming experience overall.
3. Professional Software Requirements
- Professional applications for video editing, 3D rendering, graphic design, and music production can consume a significant amount of memory. More RAM allows these programs to function more efficiently, enabling you to work on larger projects or files with better performance.
4. Future-Proofing
- As software and operating systems evolve, they generally require more resources to run effectively. Upgrading your RAM can extend the lifespan of your current PC or Mac by ensuring it remains capable of running newer software smoothly.
5. Cost-Effective Upgrade
- Compared to other upgrades, such as a new CPU or GPU, increasing your RAM is often a more affordable way to enhance your computer’s performance.
6. Reducing Reliance on Swap Files
- When your system runs out of RAM, it uses part of the hard drive (or SSD) as virtual memory (swap file or page file). This is significantly slower than RAM. By upgrading your RAM, you reduce the reliance on swap files, which speeds up tasks that require a lot of memory.
7. Improving System Stability
- Insufficient RAM can cause programs to crash or the entire system to become unstable. Upgrading the RAM can increase system stability, especially under heavy loads.
Whether you’re looking to improve your computer’s performance for everyday tasks, professional work, or gaming, upgrading the RAM can be an effective and relatively simple way to achieve a noticeable improvement. Always ensure compatibility with your PC or Mac before purchasing new RAM.

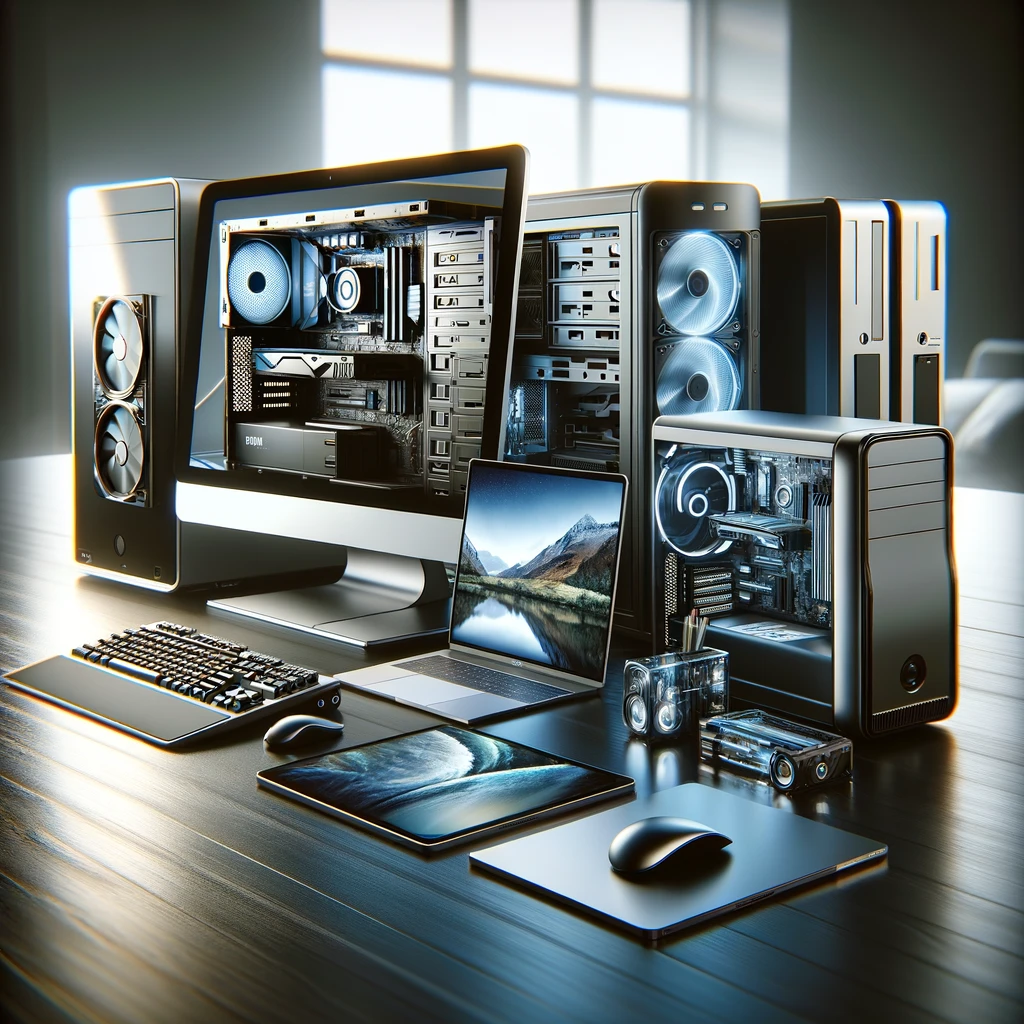
Best places to go to buy RAM
Whether you’re looking to upgrade the RAM in your Mac or PC to improve performance, handle more demanding software, or ensure smoother multitasking, knowing where to buy reliable and compatible memory modules is crucial. Here’s a curated list of reputable places to purchase RAM, ensuring you find the right type for your system:
1. Manufacturer’s Website
- Apple Store (for Macs): Directly purchasing from Apple ensures compatibility, especially for Mac users. However, Apple’s pricing can be on the higher side.
- PC Brands: Many PC manufacturers like Dell, HP, Lenovo, and others offer RAM upgrades specific to their models, ensuring compatibility.
2. Online Retailers
- Amazon: A vast selection of RAM from various manufacturers is available, suitable for both Macs and PCs. User reviews can help gauge the reliability and performance of specific RAM modules.
- Newegg: Specializing in computer components, Newegg offers a wide range of RAM options with detailed specifications and customer reviews, making it easier to find compatible memory for your system.
3. Computer Hardware Stores
- Micro Center: With locations across the U.S., Micro Center offers a broad selection of RAM in-store and online, along with knowledgeable staff to help with compatibility questions.
- Best Buy: A convenient option with physical stores in many locations, Best Buy carries a selection of RAM suitable for both Macs and PCs. They also offer online shopping options.
4. Specialty Electronics Stores
- Fry’s Electronics: Although Fry’s has fewer locations, it’s known for its extensive selection of electronics and computer components, including RAM.
- B&H Photo Video: While known for photography and video equipment, B&H also offers a wide range of computer components, including RAM, with detailed product descriptions.
5. Direct from Manufacturers
- Crucial (by Micron): Crucial’s website includes a helpful tool that ensures you buy compatible RAM for your specific Mac or PC model.
- Corsair: Known for high-performance RAM, Corsair sells directly through their website and offers options for both gaming and professional use.
- Kingston: Offering a variety of memory options, Kingston’s website includes tools to find compatible RAM for a wide range of systems.
6. Tech Forums and Marketplaces
- eBay: A good source for finding both new and used RAM. Be sure to purchase from reputable sellers with good feedback to avoid counterfeit or faulty modules.
- Reddit (r/hardwareswap): A community-driven marketplace where users buy, sell, or trade computer components, including RAM. Ensure to follow the subreddit’s guidelines and deal with reputable members.
Be careful with Electrostatic Discharge
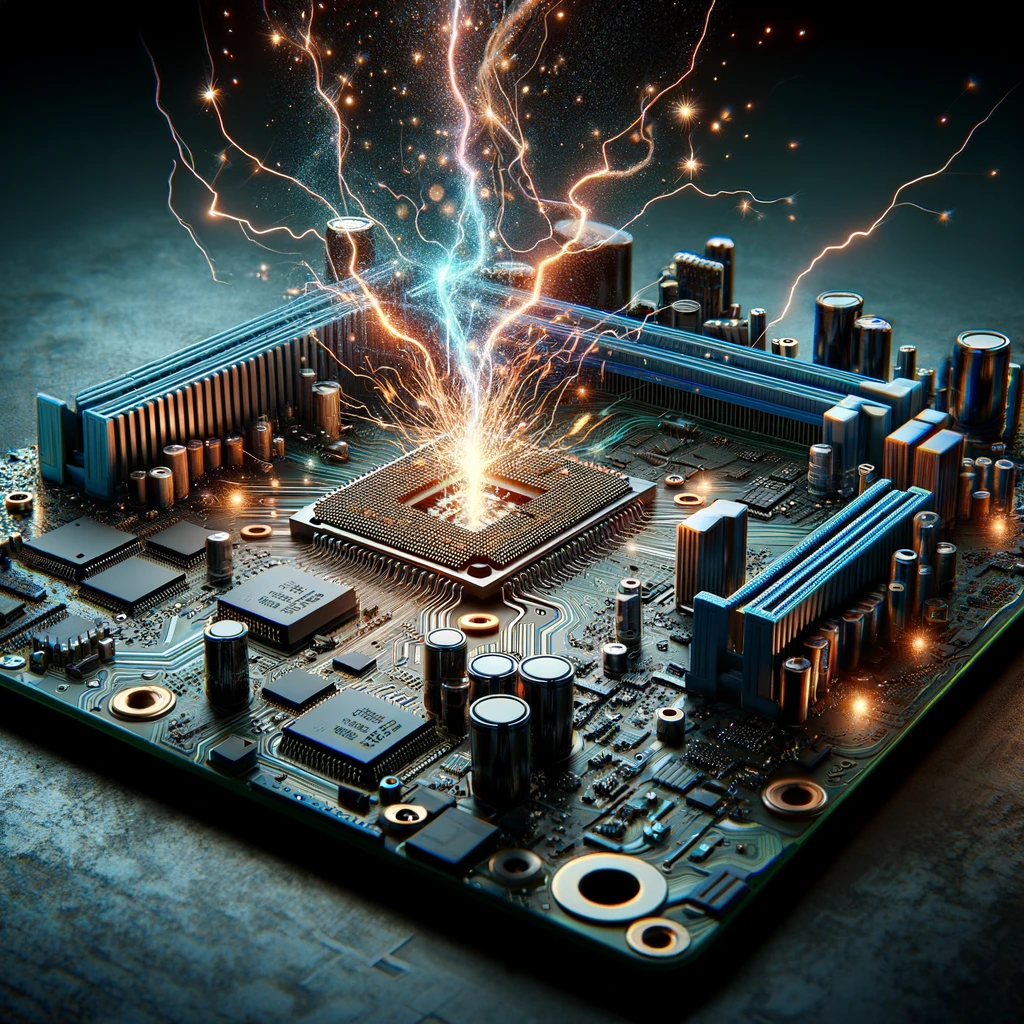
Electrostatic Discharge (ESD) refers to the sudden flow of electricity between two electrically charged objects caused by contact, an electrical short, or dielectric breakdown. In the context of computers, it usually occurs when someone touches a component, allowing built-up static electricity to discharge into that component. ESD can happen from simple actions, such as walking across a carpeted room and then touching the inside of a computer.
Effects of ESD on a Computer’s Motherboard:
The motherboard, being the central hub where all other components connect, is particularly vulnerable to ESD. Here’s how ESD can affect a motherboard:
Damage to Electronic Components: The motherboard is populated with numerous sensitive electronic components, such as capacitors, resistors, and integrated circuits (ICs), which can be damaged by the sudden surge of static electricity. Even a small ESD event, which might not be felt by a person, can be enough to damage these components.
Data Corruption: ESD can cause immediate corruption of data stored on the motherboard’s components, such as the BIOS/UEFI chip, leading to system instability or boot failures.
System Failure: In severe cases, ESD can cause immediate and irreversible damage to the motherboard’s circuits, rendering the entire board, and consequently the computer, inoperative.
Degradation Over Time: Not all ESD events cause immediate, noticeable damage. Some may weaken electronic components over time, leading to reduced lifespan and reliability of the motherboard.
How to Prevent ESD Damage:
To protect a computer’s motherboard and other components from ESD, follow these preventative measures:
Use Anti-Static Wrist Straps: When working inside a computer, wearing an anti-static wrist strap grounded to a metal part of the computer case can safely discharge static electricity that may have built up on your body.
Work on Anti-Static Mats: Placing components on an anti-static mat while working on them can help dissipate static electricity.
Ground Yourself: Before touching any internal components, touch a grounded metal object to discharge any static electricity that may have accumulated on your body.
Handle Components by the Edges: When picking up or installing components like RAM, graphics cards, or the motherboard itself, handle them by the edges to minimize the risk of static discharge into the sensitive parts of the component.
Maintain Humidity: Keeping the work environment at a moderate humidity level can reduce the likelihood of static buildup.
Avoid Carpeted Areas: If possible, avoid working on computers in areas with carpeting, as walking on carpet can generate a significant amount of static electricity.
In summary, while ESD might seem innocuous, it poses a real threat to the delicate electronic components found on computer motherboards and other hardware. Taking simple precautions can significantly reduce the risk of ESD damage, ensuring the longevity and reliability of your computer components.

How to tell the maximum amount of RAM my PC can take?
Determining the maximum amount of memory (RAM) your PC can support is crucial before purchasing upgrades. This limit is influenced by the motherboard’s specifications and, in some cases, the operating system. Here’s how to find out the maximum RAM capacity for your PC:
1. Consult the Motherboard’s Manual
The most reliable source of information about your system’s memory capabilities is the motherboard’s user manual. It will specify the types of memory supported (e.g., DDR4), the maximum amount of RAM per slot, and the total capacity the motherboard can handle.
2. Manufacturer’s Website
If you don’t have the manual handy, visit the manufacturer’s website. Look up your PC or motherboard model in their support or downloads section. Specifications listed there will often include memory information, including maximum supported capacity and type.
3. Use System Information Tools
Various software tools can provide detailed system specifications, including maximum RAM capacity:
For Windows: The built-in System Information tool can offer some insights, but for detailed analysis, third-party applications like CPU-Z or Speccy can be more informative. These tools provide detailed information about your system, including motherboard model and RAM specifications.
For Mac: Apple menu > About This Mac > System Report > Memory. This section outlines the current memory configuration and may include maximum capacity information for some models.
4. Online Memory Advisors
Tools provided by RAM manufacturers, such as the Crucial System Scanner or Kingston’s Memory Search tool, can automatically detect your system and recommend compatible memory upgrades, including maximum capacity.
5. Check BIOS/UEFI
Entering your system’s BIOS or UEFI settings can sometimes provide information about memory limits. However, this method may require technical knowledge to interpret the data correctly, and not all firmware provides this information clearly.
6. Operating System Limits
Be aware of the memory limits imposed by your operating system:
- 32-bit vs. 64-bit: A 32-bit OS typically supports up to 4GB of RAM, whereas 64-bit versions of Windows and macOS support much higher amounts (e.g., Windows 10 Home 64-bit supports up to 128GB, and professional versions support even more).
- Check the documentation for your specific OS version for detailed limits.
7. Contacting Support
If you’re still unsure, reaching out to the PC manufacturer’s customer support or a knowledgeable computer repair shop can provide you with the information you need.
Tips:
- Upgrade Path: Consider future needs; if close to the maximum, the highest capacity might be the best long-term choice.
- Compatibility: Ensure any new memory is compatible in terms of type (e.g., DDR4), speed, and size with existing RAM if not replacing all modules.
- Performance: More RAM can significantly improve performance, especially for multitasking, gaming, and resource-intensive applications, but only up to the point that the system can utilize it effectively.
Knowing your system’s RAM capacity helps in making informed decisions about memory upgrades, ensuring compatibility and optimizing performance.
Conclusion
Upgrading or changing the RAM in a computer is a remarkably effective way to enhance system performance, extend its usability, and ensure it meets the demands of current software and multitasking needs. Whether you’re aiming to improve the responsiveness of your PC or Mac, enable smoother gaming experiences, or simply wish to keep your system running efficiently with newer applications, a RAM upgrade can provide a noticeable boost in overall performance.
Key Takeaways:
- Compatibility Is Crucial: Before purchasing new RAM, it’s essential to check compatibility with your motherboard and existing memory modules. This includes the type of RAM (e.g., DDR4), speed, and maximum capacity your system can support.
- Performance Improvement: More RAM allows for more applications to run simultaneously without slowing down your system, improves load times, and enhances the performance of memory-intensive applications and games.
- Cost-Effective Upgrade: Compared to other hardware upgrades, increasing RAM is relatively inexpensive and offers a significant return on investment in terms of improved performance.
- DIY Friendly: Changing or upgrading RAM is one of the more straightforward hardware modifications you can perform on a computer, making it an accessible improvement for even those with minimal technical expertise.
- Future-Proofing: As software continues to evolve, having ample RAM ensures that your system can handle future software and OS updates, extending the lifespan of your device.
Conclusion:
In conclusion, upgrading the RAM in your computer is a simple yet powerful way to breathe new life into an older system or maximize the performance of a newer one. By ensuring compatibility, choosing the right type and amount of memory, and carefully performing the upgrade, users can significantly enhance their computing experience. Whether for professional use, gaming, or general multitasking, a RAM upgrade stands out as a practical, cost-effective way to improve system performance and future-proof your computer.